






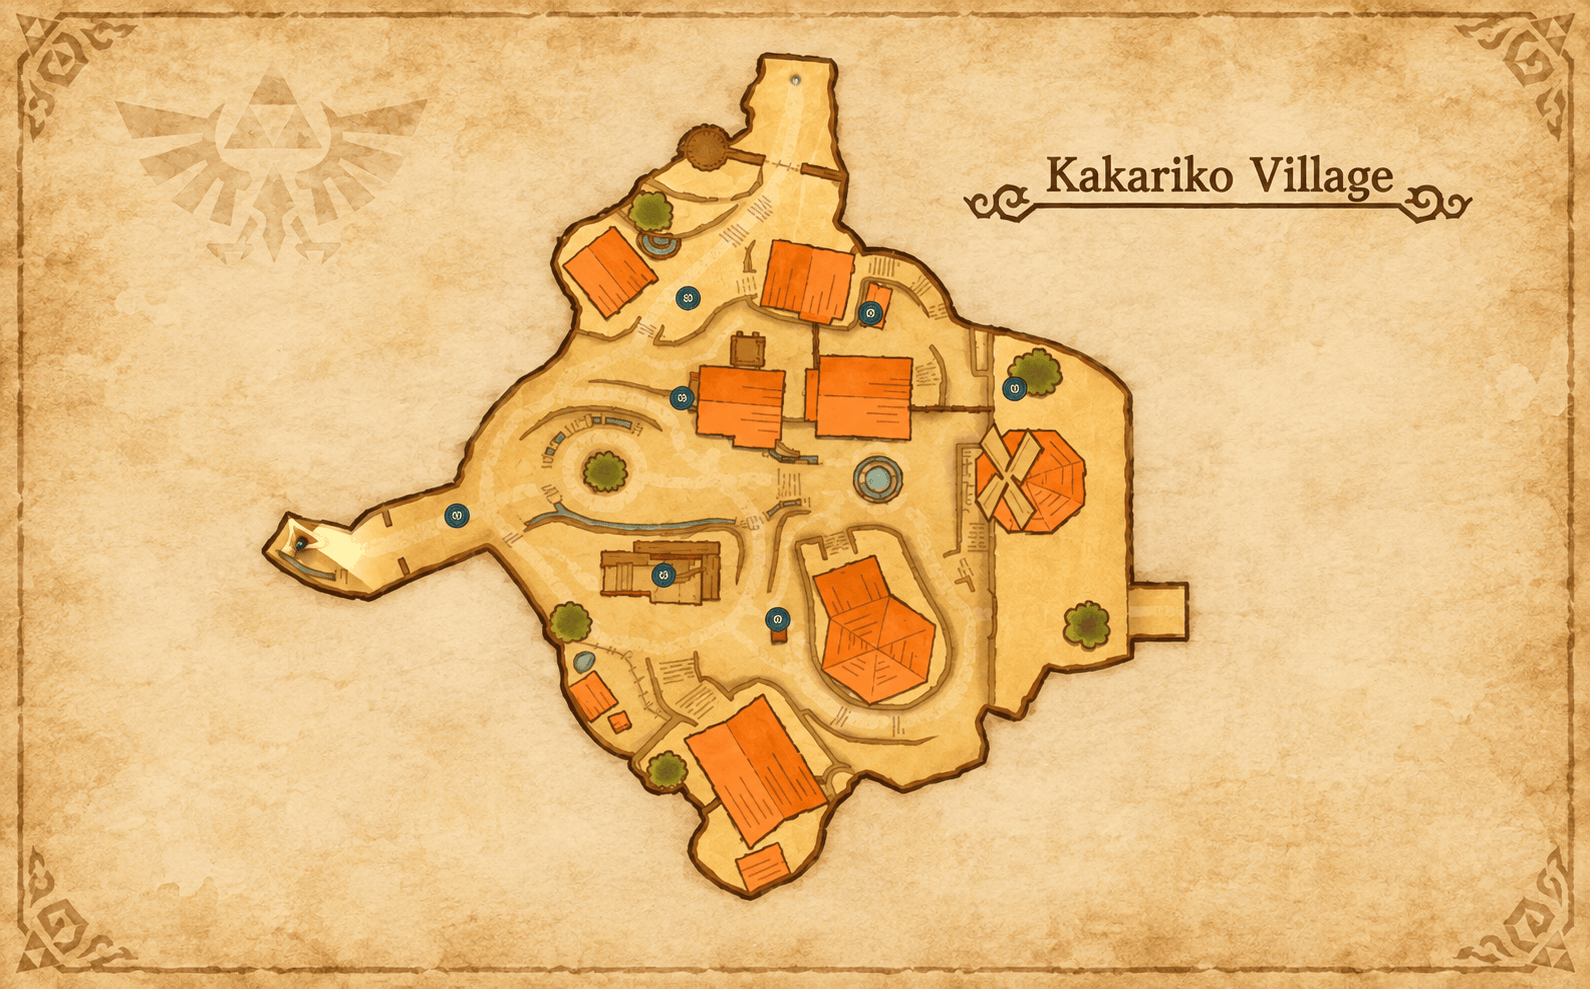

This is an early-game side quest that is easy to complete with no real challenge, and it refreshes. Because I am always short on rupees, every time I arrive at Kakariko Village, I start catching chickens right as I walk through the gates. However, because the chickens are scattered all over the place, and I somehow always forget which ones I’ve already caught by the time I grab the fourth one, I decided to write down this quick note to keep track of their locations.
First-Time Completion Reward
When you return all 7 Cuccos and speak to the Cucco Lady, she rewards Link with an Empty Bottle. (Essential for carrying potions, fairies, bugs, and Poe souls).
Can it be completed repeatedly?
If you leave Kakariko Village and return later as Child Link, the Cuccos will break out of their pen again. Repeat Reward: Every subsequent time you return all 7 Cuccos to the pen, the Cucco Lady will reward you with a Rupee (typically a Red Rupee worth 20 Rupees).
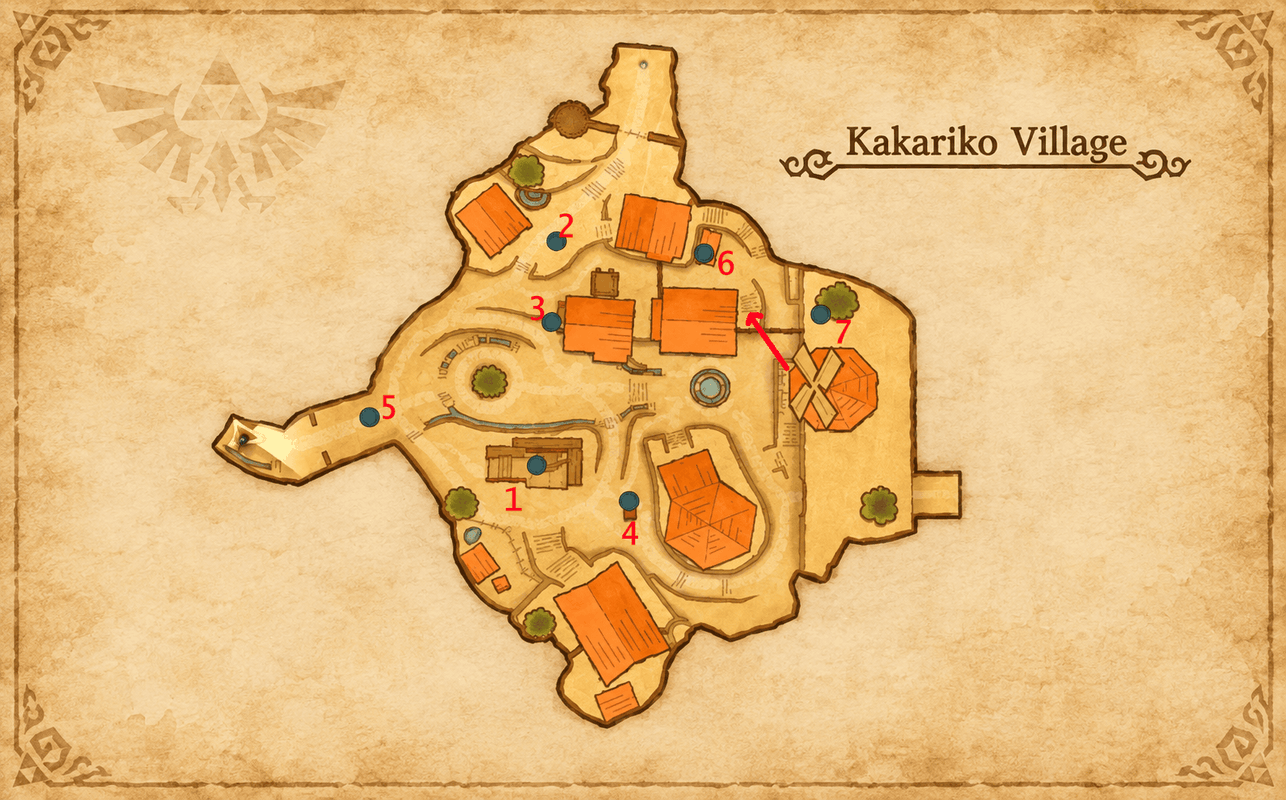
Cucco #1 (Construction Site / Impa’s House):
Usually wandering around the unfinished wooden scaffolding right in front of the Cucco pen in the center of the village.
- Note: This Cucco’s spawn location can slightly vary; it occasionally wanders or spawns behind Impa’s House nearby.
Cucco #2 (Village Entrance / Guard House / House Backyard):
Located near the southern main entrance gate to Kakariko Village.
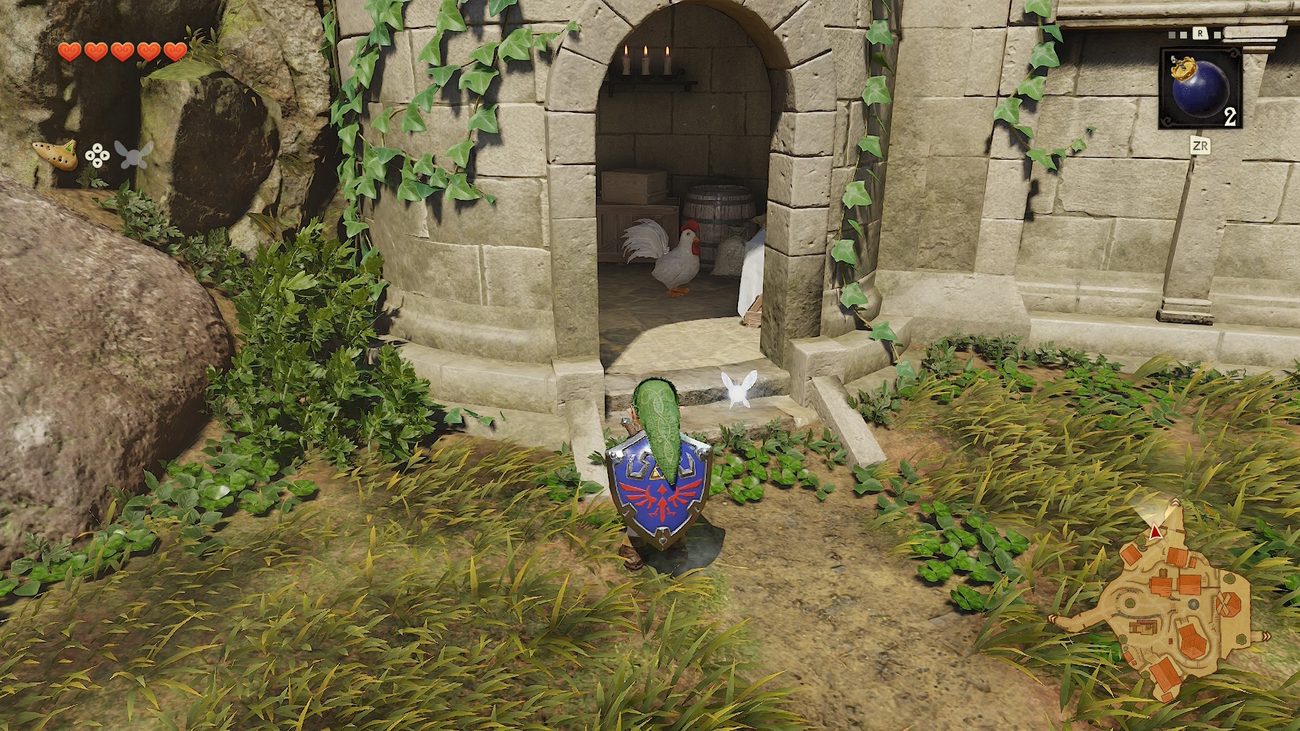
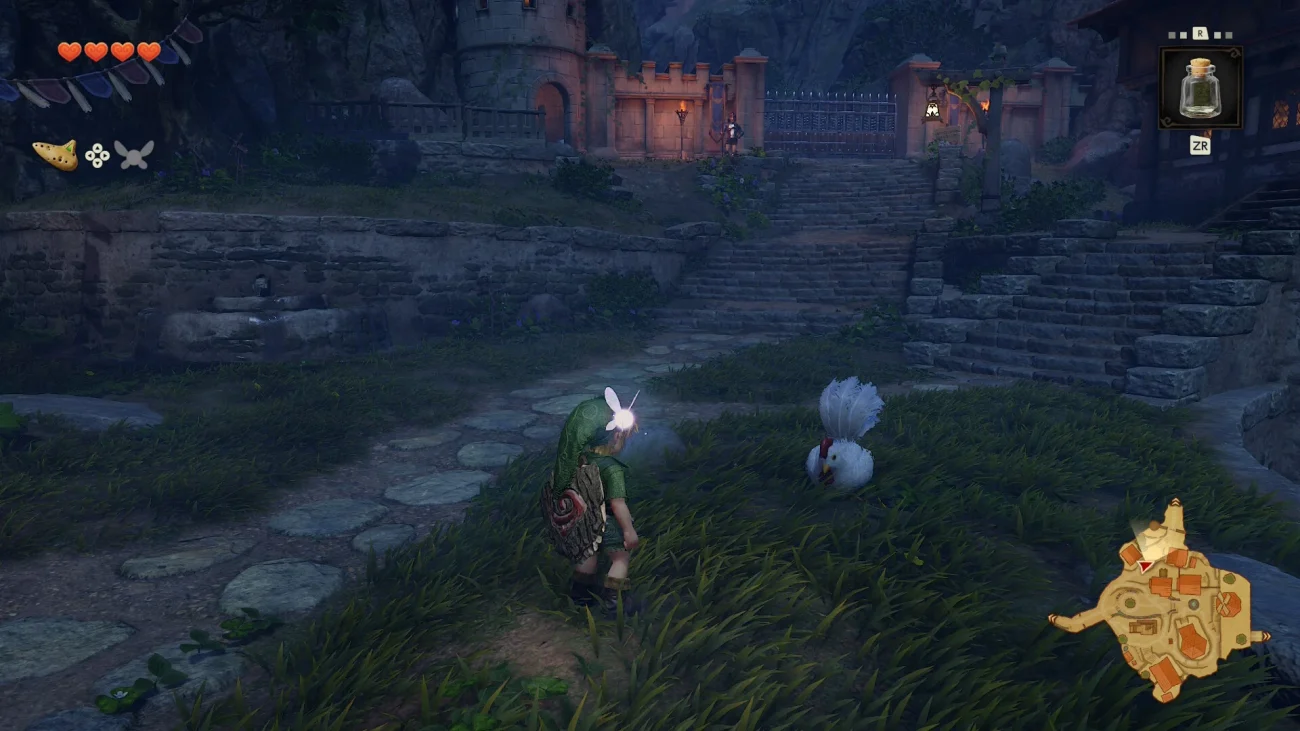
- Note: Its position fluctuates slightly—it can occasionally spawn inside the Guard House near the gate or behind the house along the side path.
Cucco #3 (Inside Crate):
Located near the central path/house. Look for a wooden crate sitting on the ground—roll into the crate using A to break it open and release the Cucco.
Cucco #4 (Brick Pile Platform / Slope area):
Sitting atop a pile of bricks near the House of Skulltula.
- How to reach: Pick up any existing Cucco, carry it up the stairs past Impa’s house, and leap off the ledge while holding the bird to glide onto the brick stack. Or just shoot it.
- Note: The Cucco near this area can occasionally wander or spawn slightly further up along the slope.
Cucco #5 (Death Mountain Trail Path):
Located near the northern stairs leading up toward the entrance of Death Mountain Trail.
Cucco #6 (Beyond the Windmill Fence):
Trapped in the backyard area behind the tall wooden fence near the windmill.
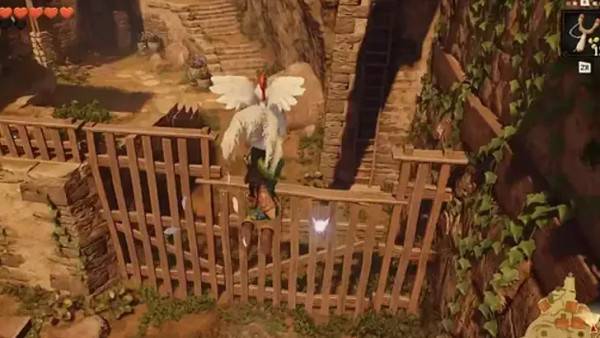
- How to reach: Grab a Cucco, carry it up the stairs to the Windmill entrance, and jump off the ledge toward the small gap in the tall fence to glide over. Throw the bird over the lower fence into the main area so you can carry it back later.4
Cucco #7 (Behind the Windmill Ledge):
While still in the isolated area from Cucco #6, climb the two ladders on the wall behind the windmill to reach the high grassy ledge.
Heart Piece Bonus: Before throwing Cucco #7 back to the pen, use it to glide from the windmill platform onto the roof of the Potion Shop. Speak to the man sitting on the roof to receive a Piece of Heart!
How the Cucco Quest Refresh Mechanism Works in Ocarina of Time (ns2 version)?
The quest does not automatically reset just by letting days pass, nor by simply leaving the village and coming right back. To make the Cuccos escape again after completing the quest:
At least one full day must pass (next day) before returning.I
f you leave the village, do nothing, and come back two days later, the completed quest still won’t reset.
You must leave Kakariko Village.
You must actually complete an activity or progression task outside the village.
How to Reset Stray or Lost Cuccos During the Quest
If you accidentally throw a Cucco into an inaccessible area or lose track of one while attempting a glide:
- Water Respawn: If a Cucco falls into a body of water or off boundaries, it immediately despawns and resets back to its default starting spot.
- Leaving & Re-entering: If you lose a bird or drop it off a ledge, stepping out of Kakariko Village to Hyrule Field and immediately returning will reset all uncaught Cuccos to their default initial positions.
The content of this guide is based on the actual gameplay experiences of my friends and me, combined with references from popular walkthroughs to ensure accuracy through repeated quest runs.It also incorporates my favorite interactive map, which includes helpful screenshots that make finding things like Gold Skulltulas Here is the link to the map: The Interactive Map